Sunday, 31 January 2016

Stripped To The Bone

Due to the excess of time this week thanks to not having to go to work I have been hiding in the garage the odd afternoon.

Set to stripping the bike down to it's bare bones.
Finished stripping down the forks, bit of a pain as there is a washer between the top bush and seal, the washer gets dished when pulling the tube out. Only £3 each for new ones, then there's the new bushes, seal, outer seals and spring clips. 
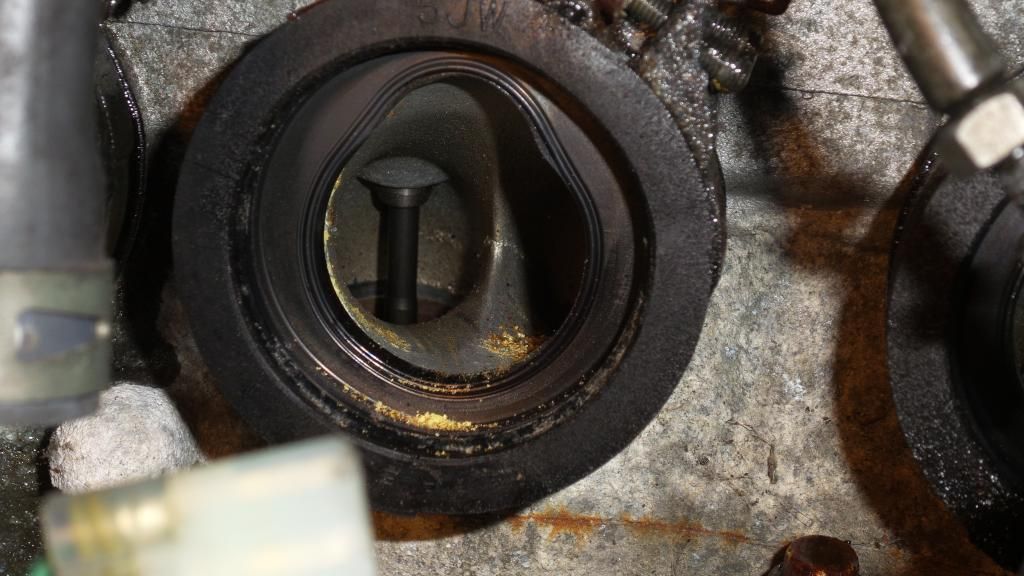
Looks like I'll need to replace the compression valves too.

The rest was pretty plain sailing with most major bolts shifting easily, had a few sheared screws but should fairly easy to remove. Rear wheel out, sub frame off foot pegs and hangers off, wiring loom out. Then drained the diff oil, looked very clean, remove diff along with prop shaft, universal joint out to give access to the swinging arm pivot bolt.
Swinging arm off and I'm left with a rolling chassis.


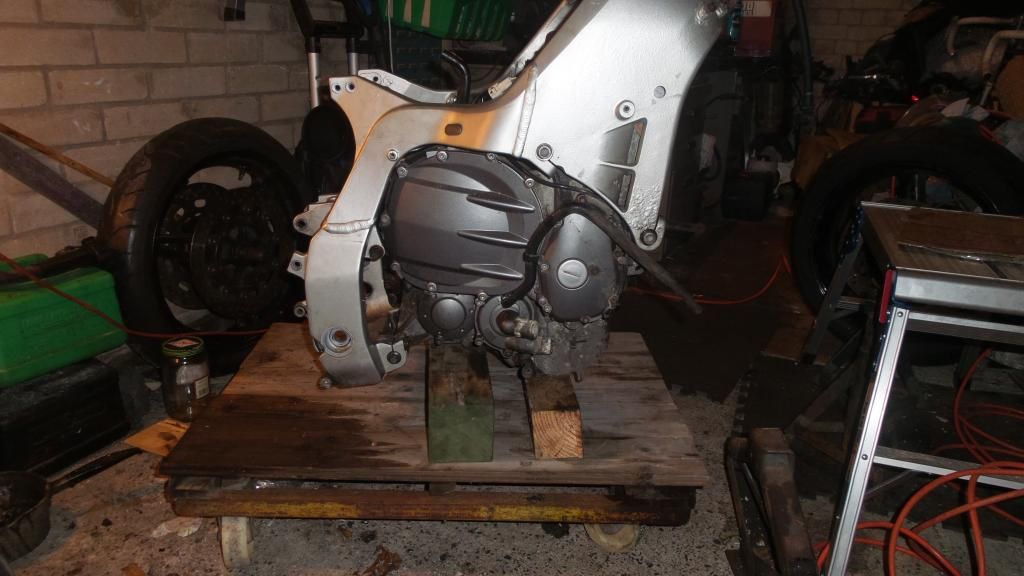
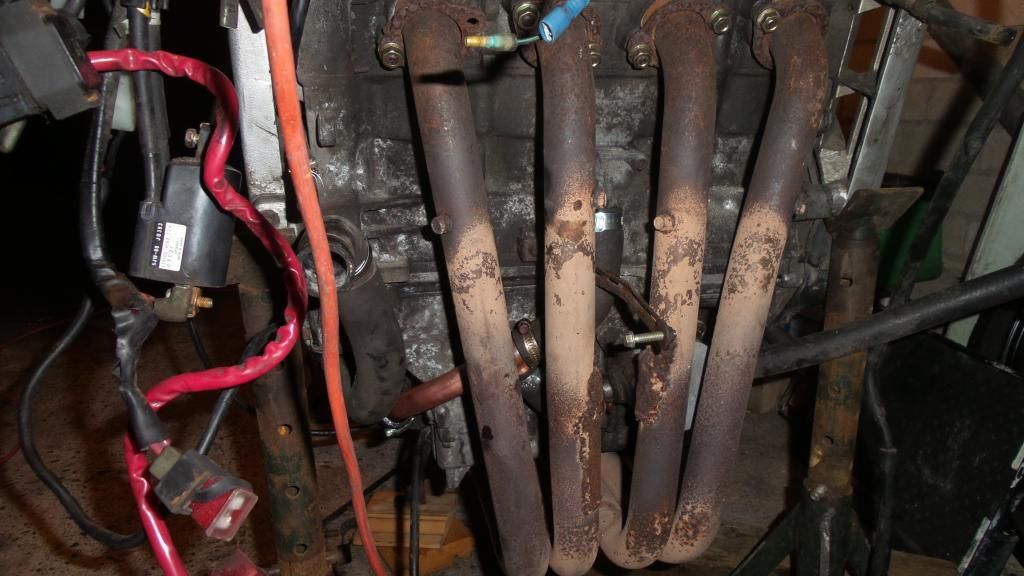
Just left to separate the engine from the frame, few tight screws that needed some gentle persuasion and some heat to soften locktite and also some of my home made WD40.
Home made WD40= 50% acetone and 50% ATF oil (Automatic transmission fluid) in a spray bottle. This stuff really seems to work ATF has rust removal properties and the acetone helps to transport it.

I have stripped many parts as sub assemblies to clean and paint later.

So then it was onto preparing the bits for powder coat or paint. Started with the frame as that only had one sheared screw near the head stock.
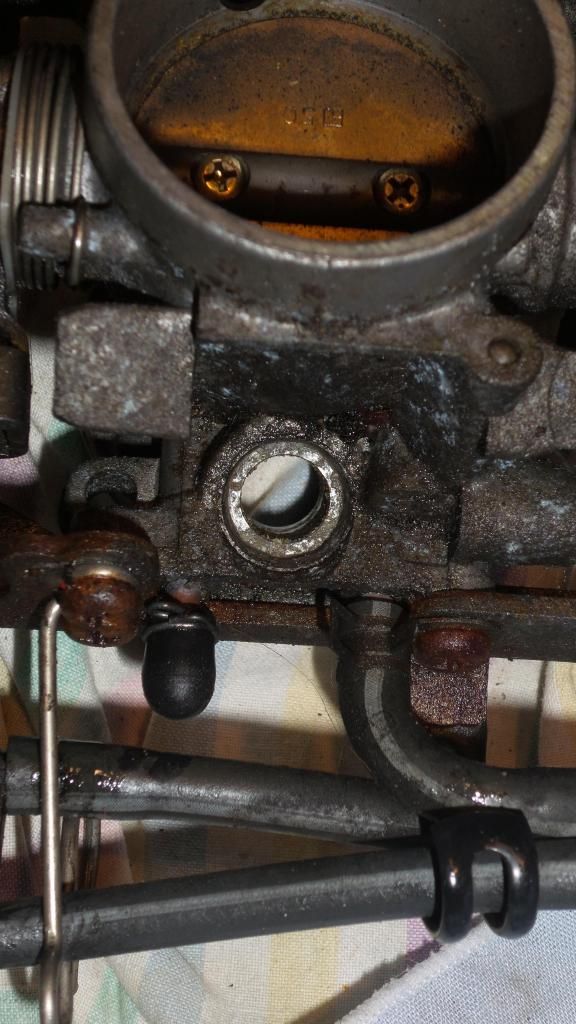
As you can see from the pic the boss has been slightly butchered, not by me this one was done by the previous bloke.


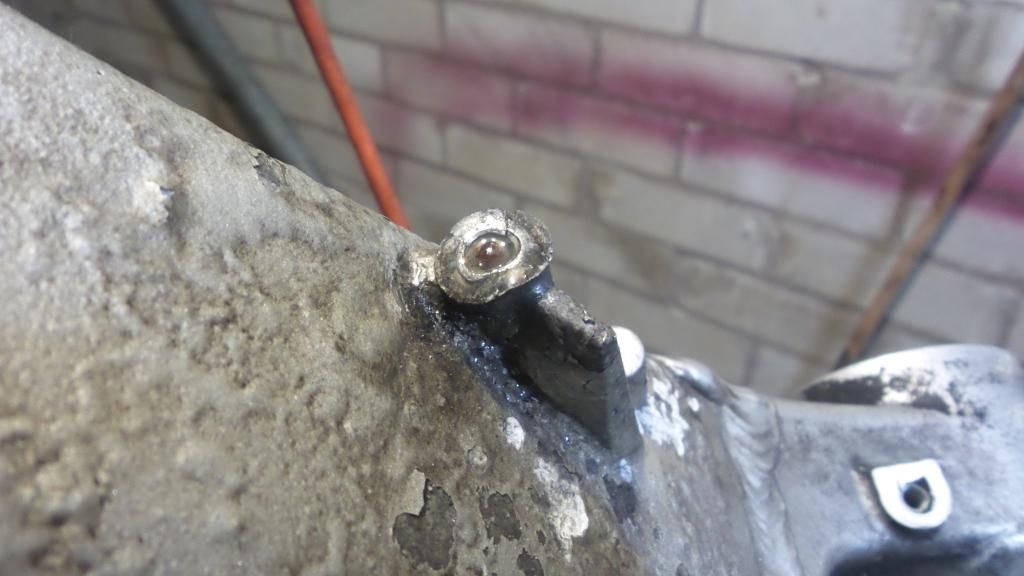
You can see the state of the paintwork and why it requires tarting up. As this is just the radiator mount I decided it would need cleaning up a bit so set to with the dremmel to clean it up and provide more access to the sheared thread, then cut a slot in the thread and out it popped.


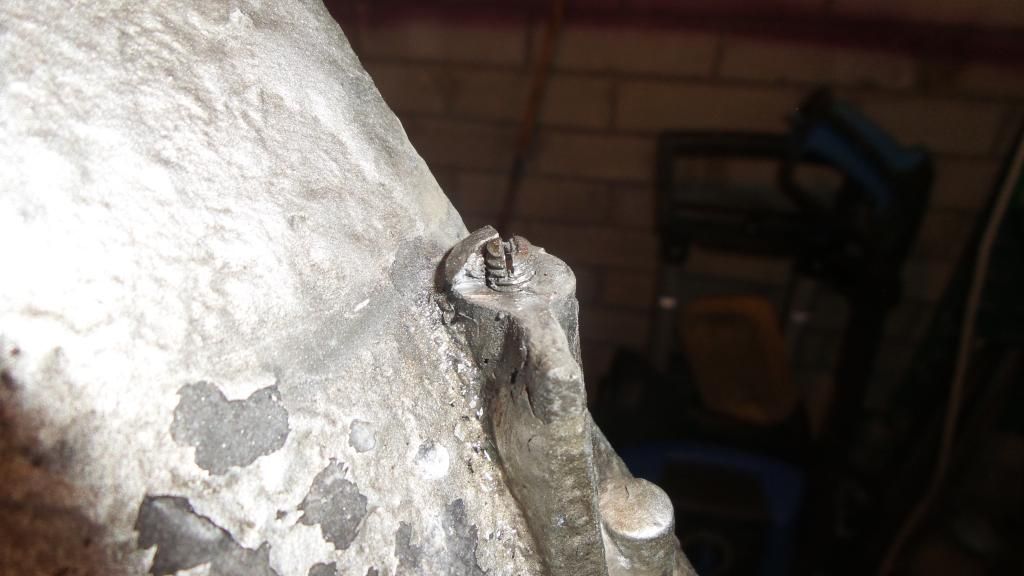
Finally tidy up with a file, I will pop a spacer in to bring it back if need be.


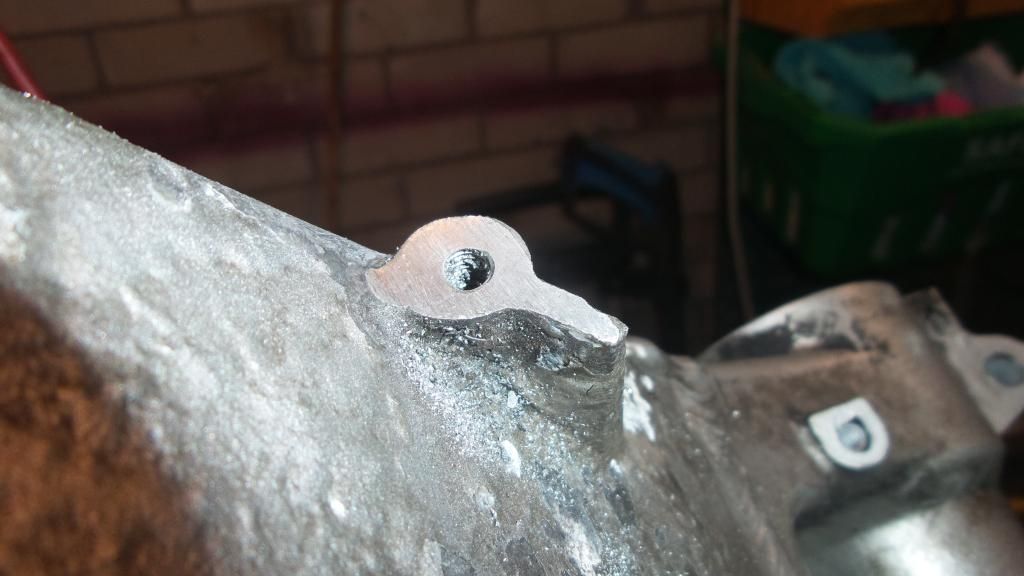
So that's the frame ready next is the subframe.

Another good afternoon fettling.

I have now removed all the snapped screws from the frame, sub-frame and swing arm. 
I will need to helicoil 2 threads, as the left handed drill didn't get them, that's easy enough.

Just need to strip a few more bits down, foot peg hangers and swing arm bearings and it's all ready for powder coat.

Next will be the engine.

Saturday, 30 January 2016

It's Alive

Today I is a happy bunny.

Got some nice chemical metal sticky filling stuff today, so filled the nasty holes in the rad. While waiting for it to go off, I put some fuel in tried for a start on the engine.

Battery attached and ignition on, FI light is on but that's to be expected after the work that's been done so far. Hit the starter and she's turning over very well but no fire up. Checked the fuel pump comes on but seems to go off quickly, fuel level seems to be enough to run.

So I went for the carb cleaner start to isolate a fuel problem, squirt a bit in the airbox and it started but stopped. So no fuel.

Probably has something to do with the FI light and fault code that's showing, so for the first time it's out with the manual. Fault code shows tip over sensor tripped. Easy enough, has a look at the TOS and it seems some idiot had placed it upside down. Teach me not to read the (in raised large letters) this way up bit.

That clears the fault, I know there are a few more on the history but none are engine stop faults. So I hit the button again.....

She fires up first try.

Turned off and refitted the rad and hoses, filled the coolant and started again, fired up straight away steady tick over and not one grindy rattly or ticky sound to be heard. Apart from the lack of silencers it sounds as sweet as a nut, so I cycled it through the gears. No probs there all five snick in nicely with no sign of snatch in the clutch.

As it warms it's a bit hesitant on the throttle and the tick over is a bit high as the adjuster was needed to keep it running but the FI light is on still, so checked the code and it comes up as a coil fault. Now as most FI systems are fussy blighters the first thing to check is that the connections are good, quick clean and a wiggle then run diagnostic check on the coils. Sorted FI light now goes out with the ignition on start the motor and it's running alot sweeter. I wind the adjust all the way out to check it still ticks over and it's fine. Reset the adjuster and blip the throttle very crisp and drops off as quick as it picks up, all good.

First vid is cold start.


It's a very smooth running motor, but that might have something to do with 2 balancer shafts or me having got used to a V twin

So it's all good in the engine department in fact, alot better than I would have thought, also sounds great without the silencers.


With the motor now running I can strip it all down and get on with the real work.

Friday, 29 January 2016

Not Running Yet.

After making sure the motor spins it's on to rebuild time to start it.

Found out why the UJ on the drive shaft was tight, due to having no rear suspension attached the swing arm was too low meaning the UJ was at a tight angle, lifted the swing arm and all is fine and dandy, what's more the clutch is free.

Reassembled the throttle bodies and refitted along with the air box, had a look round to make sure I'd refitted the important bits. All fine till I notice the 2 coolant hoses tucked behind the frame. You guessed it they fit to the bottom of the throttle bodies for the cold start, undo, fit hoses, refit.

Rebuilt the tank and dropped that on, one of the pump connectors wouldn't fit properly, so a little squirt of WD40 round the seal (not on the connectors as they don't like it) and on it slipped.


Next popped the headers on easy fit and the studs held out with a bit of adjustment.


Then onto the radiator and hoses.
Popped the rad on and find I have a hose missing from the oil cooler to the rad, no probs got some hose, new bit fitted. Rest of hoses fitted, I'm leaving the expansion tank off for the time being.
First is fill the system check for leaks then drain to remove as much crap as possible.
Filled the system half way before the first drip appears from the new hose, push on and tight the clip, sorted. Carried on filling and notice a puddle about 6 inches from the bike. 
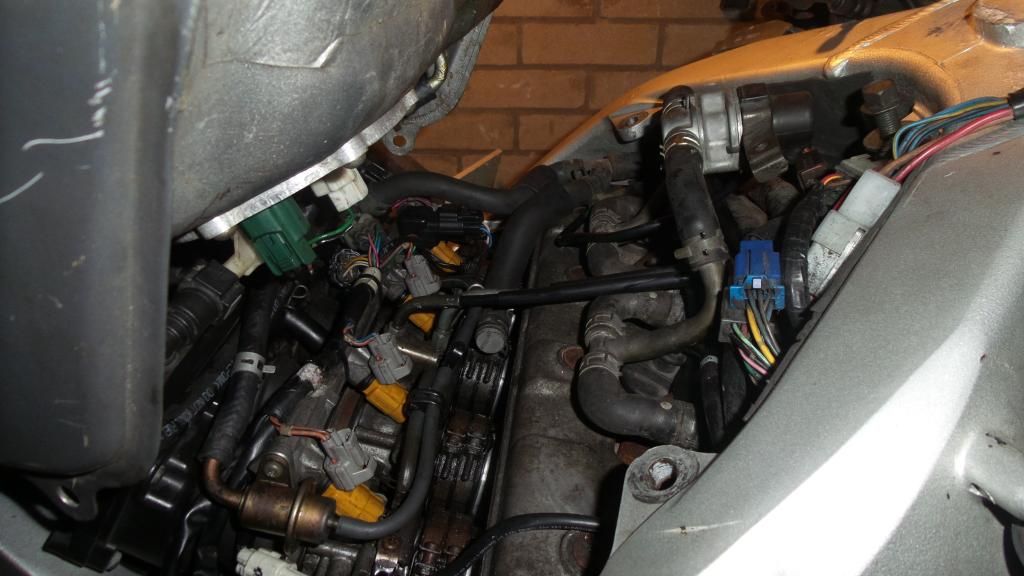
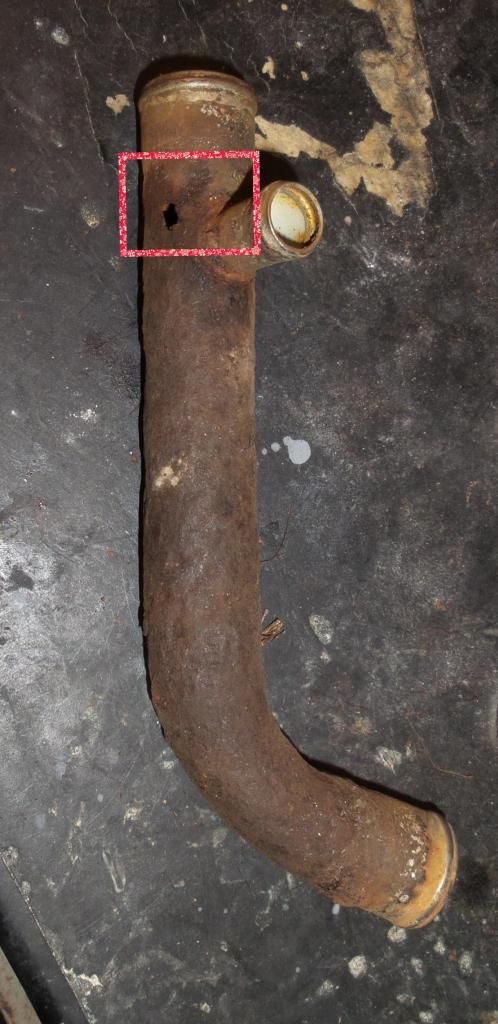
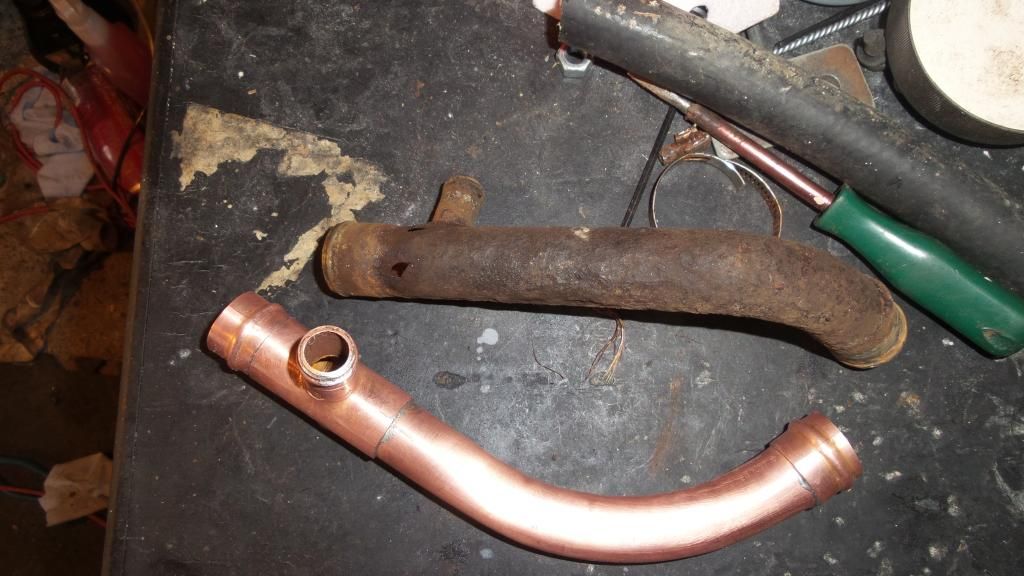
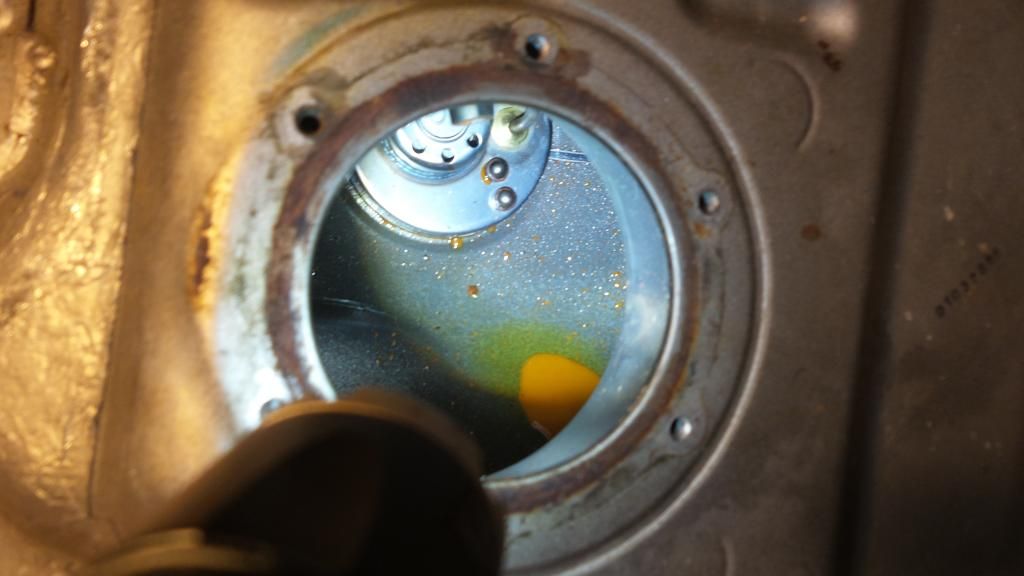
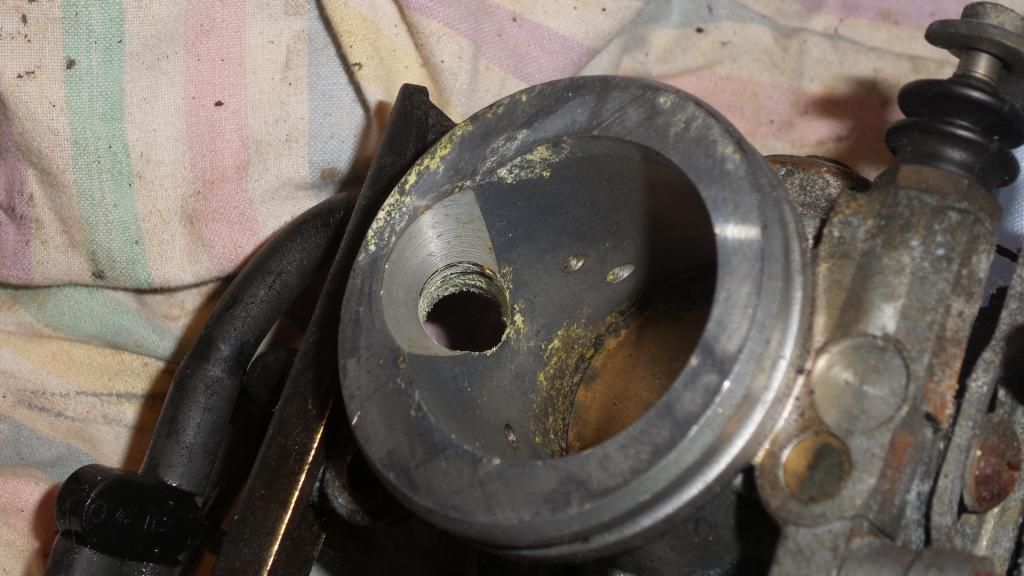
Oops there seems to be a pin hole in the steel connection pipe to the pump.

Ok easy temp fix, bit of hose cut and wrapped round with a jubilee clip to hold it. As I tighten the clip the leak gets worse. It seems the are 2 larger holes further up.

So from this,


To this, quick bit of copper work and....


a new pipe is born.

Bit late to refit the rad so I thought I'd give it a clean up, oops the aluminium worm has been at work.


I'll do a repair with some chemical metal for the time being, if the budget holds out a new rad is only £100.

Thus ends today's efforts.

Thursday, 28 January 2016

Will It Run

I has been hard at it today.

Got fed up trying to separate the fork leg just put it to one side with the other one, so did some other bits.

Stripped out the damaged undertray, for a bit more room to get at the rear end. Got the vacuum out to remove some of the foliage and dirt on the engine and cleared out the inlet ports.
Air control hoses off then removed the spark plugs, they look fine and clean. Next was to drop some oil down the bores just to help out. Then slapped it into 5th and turned over a few times turns well but it feels like the shaft UJ is a bit tight in places, that might just be due to turning from the rear wheel though.

Just need to replace a connection on the battery and I should be set to let it turn over on the starter to check for oil pressure. Then rebuild if it runs I'll be taking it all off again.

Tomorrow I'll get the tank out and check the pump.


It's tomorrow.


First job, will the starter motor work?

What did I do first? Took the bottom hose off the water pump! Why? To check for coolant down there, there was some and it was clean so I flushed some clean water through and refilled the pump. The reason for refilling the pump is to make sure the water pump seal doesn't run when dry as this can overheat the ceramic or dirt can get in the seal. Just a precaution but worth doing to save later grief.

Plugged a few bits back together first, then connected up the cables. Turn on the ignition and the clocks did their sweep and the LED display came up OK. Kill switch on hit the starter and pop.

S'ok just an over ride relay. Waited for it to kick back in. Did the same again, I'm thinking now that the starter relay could be buggered. So checked the fuses, and found one missing from something, I'll find out what it is when I look at the wiring loom. Also re positioned the leads on the battery.
Tried again and the starter span up.  The motor is turning freely with no clunks hand over the plug holes shows there is plenty of compression. It's also pumping oil.

Had a look down the inlet ports as the valves were well open and the honing is perfect no sign of wear at all .

So onto finishing cleaning the throttle bodies. The butterflys were sticking when fully shut and this is down to a build up of varnish around the edge of the butterfly. This can cause erratic or uneven tickover and slight hesitation when opening the throttle.
So from this:


To this, I've been using sanding pads to good effect here. Start with medium and then to fine. 


Nice smooth action and a good seal.

Next onto the fuel pump.
Removed the pump, as normal with em it was slightly tight so a gentle yank was required. Looks good filter pretty clear and only a drop of water in the tank. Cleared that out, I will use this tank to test.


Onto the pump. This is how it looked when removed.


Stripped down and there is some rust around the pump body, so I went ahead and tested it, no worries working fine.
So I cleaned the rust and put some deruster on it.


Reassembled and put to one side while the tank fully dries out.

Thus endeth todays fun.

Wednesday, 27 January 2016

Crystal Fuel

Done a couple of evenings this week and made some progress, if pulling things apart is progress.

After taking the injectors out, it was obvious that the throttle bodies needed to come off for cleaning, so out with the air box and off they come, all fixings are coming undone easily which leads me to believe it has either never been touched or it's been properly serviced.


Bit of cleaning needed.
A look down the inlet ports and things ain't bad, some crystalised fuel in there but I'll get the hoover in to prevent it dropping into the bores. Valve stems look good with no build up of carbon. 
Clip lines from the casting cores are a bit rough so I might polish em up a bit for some extra BHP.


Underneath is a bit messy, looks like it's been in a bush.
Nice and white with fur but easily cleaned.


So while the throttle bodies are soaking, I went back to the front end to remove and strip the forks, calipers off and onto the mudguard. Thats when I found the damaged lug. As in snapped off the fork leg. Oh well I can get that repaired easy enough and it's getting painted so no probs..
Stripped down the first fork leg easy enough and the oil was fairly clean thenl it came to removing the stanchion from the leg. I haven't got it out yet, but it will.